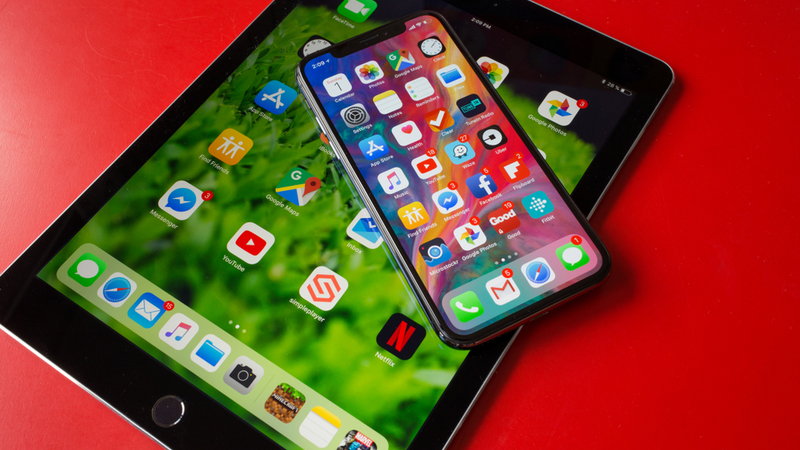
At the beginning of October, the iPhone XS and iPhone XS Max were released, and now the iPhone XR has been released to consumers. If you've just picked up one of these new smartphones, then you might have noticed that Apple are bundling in all of their file-management applications by default, perhaps in an effort to catch up with Android handsets that do a great job of allowing mobile file management.
It's no secret that Android devices have a great range of applications available for creating, editing, storing and sharing files, whether they be spreadsheets, word documents, PDFs or otherwise. Apple has often been the straggler when it comes to these things, but their native iOS applications have gotten better over time. Below, we'll look at the options available to you for managing files on your Apple phone or tablet.
How to download a document to an iPhone or iPad
Downloading and storing a file on a computer is incredibly straightforward for most of us; it's one of the easiest tasks you can do with a computer, and one of the first things you'll likely have done when beginning to learn how to use one. However, on iOS – the iPhone and iPad's operating system – the process isn't so simple.
In recent years, Apple has made the process a little easier by expanding the iCloud services and creating a 'Files' application, which we'll mention later. They've also relaxed some of the stringent restrictions around the use of third-party applications that they used to enforce. For example, Dropbox and Google Drive can now be installed and used.
Whatever the file you're trying to download, be that a word document, PDF, Excel spreadsheet, or audio file, you'll be able to access it with your iPhone or iPad. That said, you'll be limited on where you can store the file. The iCloud service has certain restrictions around file types that are supported, but third-party services like Dropbox and Google Cloud do not, so we'll focus on those.
- To start, open the file location that you'd like to download in your Safari web browser;
- Look for the 'Share' button and tap on it to bring up the sharing options;
- Select 'Save to Dropbox' or other options, depending on the third-party application you choose;
- Finally, tap the 'Save' button and select the folder you'd like to save into.

The 'Files' application on iPhone, iPad or iPod Touch
You can use Apple's 'Files' application to store a wide variety of files under a single Apple account, whether you're using an iPhone, iPad or iPod Touch device. Stored files are synchronised across all devices sharing that Apple account, meaning you can access them at home on a personal device, or at work on a work-based device. Introduced in iOS 11 and later, you'll need to be running a relatively up-to-date operating system on your Apple devices to get access to these features.
The application links straight into your third-party cloud storage accounts; for example, in the below image, you can see how the Files application is linking straight through to iCloud, Dropbox, OneDrive and other solutions. This makes everything easily accessible from within a single location.

Keeping a backup of your essential files
Though you might not yet be using a cloud storage solution, you should seriously consider setting up an automatic backup for all your important files, such as your photos, videos and message history, if those things are important to you. It can only take a moment to irreversibly damage or lose your phone, or have it stolen by a third-party. Should the worst happen, then you could lose years' worth of irreplacable memories if you haven't been backing up your personal files.
If you'd like some help from WiseGuys in getting yourself set up with automatic data backups, then you can give us a call on 0808 123 2820 and we'll be happy to help. Alternatively, you can drop into our mobile repair centre in Bournemouth or Christchurch. We offer same-day advice and repairs for all manner of devices, not just your smartphone.


Recent Comments