You have recently bought a new smartphone and you are not sure how to set it up. We’ve got your back!
Take a few minutes of free time for yourself, make yourself comfortable, and follow this quick and easy guide on what you should do, to use your new device to the fullest.
Time for the SIM
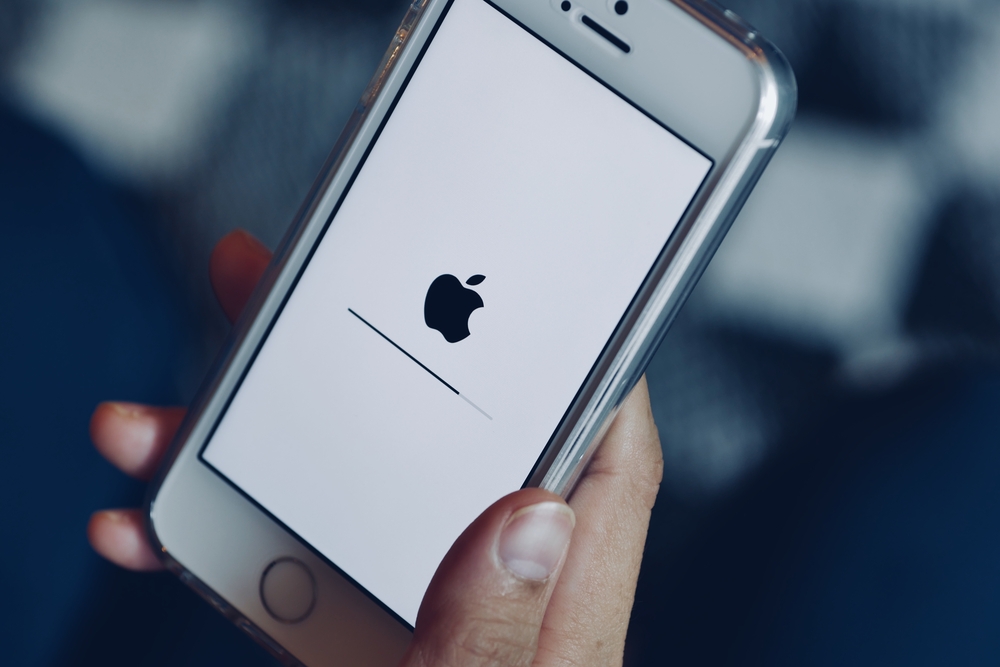
Have you just bought a new smartphone and are you going to set it up for the first time? All right, then let me guide you through this simple (albeit apparently arduous) undertaking. To begin with, take the phone out of its packaging and insert the SIM inside it: in most cases, it will be sufficient to extract the special trolley, using the supplied metal paper clip.
However, if you do not know how to install the SIM card in the phone, you can refer to the user manual of the same or carry out a short search on Google, writing in the search bar “insert SIM [ write down your phone brand and model]”.
Once the SIM installation is complete, you can proceed with the next step, which consists of configuring, for the first time, the operating system on the phone.
Set up an Android
After inserting the SIM in the appropriate slot and turning on the smartphone, you can proceed with the initial set-up of your Android device.
First, select the language to be used in the operating system from the appropriate drop-down menu; then tap the Start button to start the phone setup wizard.
- As a first step, you will be asked to choose a Wi-Fi network to connect to to download apps or copy data: select the network of your interest from the proposed list and, when prompted, enter the access key. If you want to continue with the configuration of the phone without using a Wi-Fi network but using the data connection available on your SIM, touch the item Use the mobile network for configuration. To continue, however, without connecting to the Internet (this option, however, could affect the steps available later), tap the Ignore button, located at the bottom left.
Once the Internet connection has been established, wait for any system updates to be downloaded and installed and then choose whether to copy apps and data from an existing backup or to skip this step and reconfigure the phone from scratch.
Import or not to import? That is the question!
If you have chosen to proceed with importing a backup, specify whether to recover data from another Android phone, from the cloud or from an iPhone and follow the instructions provided on the screen to proceed with the data transfer (you will be asked to log in to the cloud, to select the backup file, or to enter the credentials of the Apple ID configured on the “source” iPhone).
If, on the other hand, you have opted for the “from scratch” configuration, log in with your Google account by entering your credentials in the appropriate forms. If you don’t have a Gmail profile, you can create it right away by tapping the Create button.
Back-up files and set up passwords
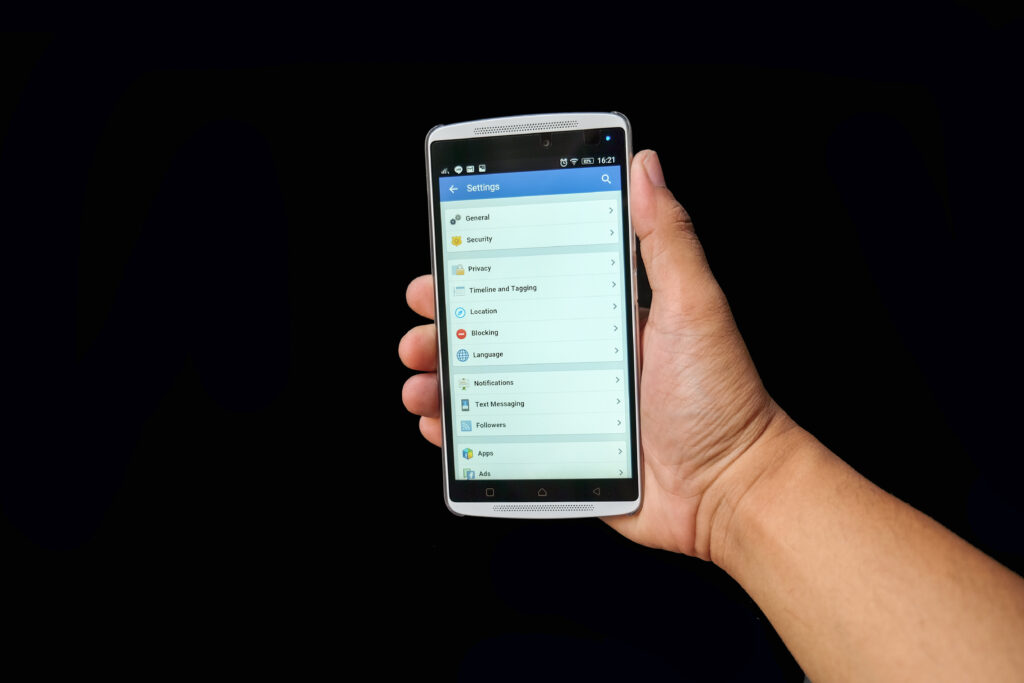
- Once you are logged in, you can choose whether or not to automatically back up to Google Drive by using the appropriate levers, whether or not to activate geolocation , whether to allow the scanning of Wi-Fi networks and nearby devices even when Bluetooth and Wi-Fi are not and, finally, whether to send diagnostic and usage data to Google .
At this point, tap the Accept button (located at the bottom of the screen), to confirm the applied settings and move on to the next step, which consists of configuring the fingerprint or face recognition.
- At this stage, tap the Next button, choose whether to configure, together with the fingerprint / face, a lock pattern , a PIN or a password and, after making your selection, indicate whether or not to activate secure boot ( i.e. the need to enter the graphic sequence, PIN or password even before the operating system starts, to unlock it) and follow the instructions displayed on the screen to configure the security protections you have previously chosen.
Now you are ready to use your new Android phone!
Set up an iPhone
Have you turned on your iPhone for the first time and you just don’t know how to move in this new universe? Fear not, setting up Apple-branded devices for the first time is a breeze.
- First, when you see the iPhone welcome message (the word “Hello” in all languages) appear, press the Home button (if present), or tap the screen, to access the language selection screen.
Once you have made your choice (presumably English), choose your country or area of residence and wait for the setting to be applied in the system. Now, if you are coming from an iPhone running iOS 11 or later and want to automatically transfer data and settings from the old to the new phone, take the first one and, after turning it on and turning on Bluetooth, bring it close to the new iPhone and follow the instructions provided on the screen to complete the data transfer procedure.
To configure the phone from scratch, however, tap on Configure manually and, when prompted, connect to your Wi-Fi network , selecting it from the list. If you don’t have a Wi-Fi network, tap Use Cellular Connection to activate the iPhone via the cellular data network.
Once the connection to the network has been established, tap the Next button located at the top right, wait for the “iPhone by” to be activated and tap the Continue button , to accept Apple’s terms of data sharing and privacy.
Time to secure your device
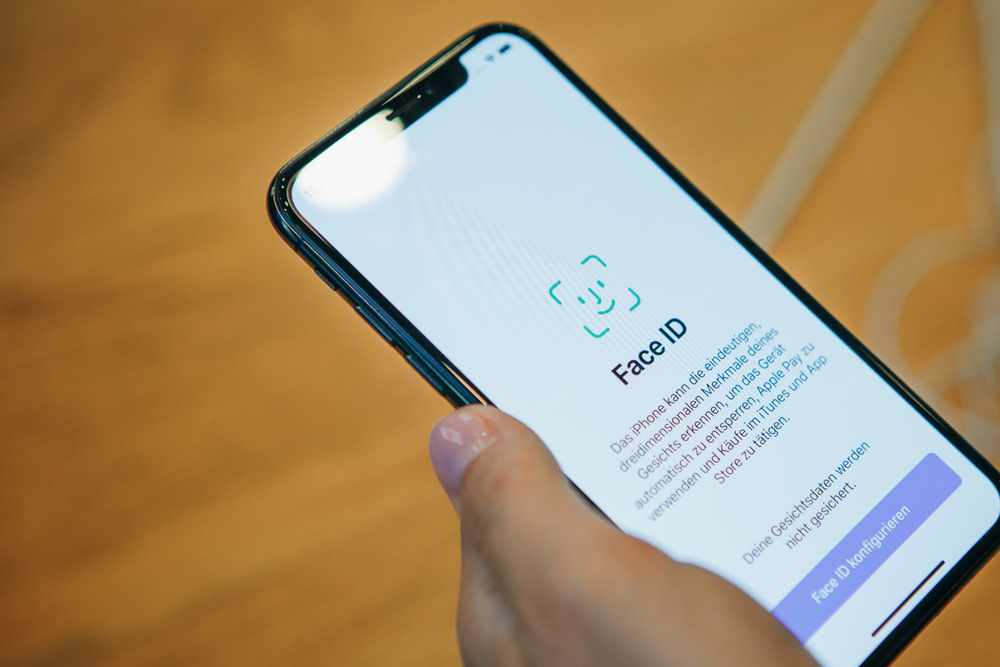
- The next step is to configure the Face ID or the Touch ID , ie unlocking by facial recognition or fingerprint (based on the “iPhone by phone” model used): then tap on Continue and follow the instructions that are proposed to you to conclude the face or fingerprint recognition phase.
Once this is done, enter a 6-digit code to use to protect your phone, enter it again when prompted, then choose the restore option that best suits your case: via backup on iCloud, backup saved on PC or Mac, from another iPhone, from Android or don’t transfer apps and data and set up your phone from scratch. If you have chosen to restore from an existing backup or Android phone, follow the instructions that are shown to you to recover the necessary data.
- We’re almost there: log in now with your Apple ID (if you don’t have it, you can create one), tap the button Accept, to accept the iCloud terms of use, and wait for the new account to be set up on the phone.
- Next, choose whether or not to enable location services, configure Siri, Apple Pay and the iCloud keychain (which allows you to store and synchronize Safari passwords with other devices paired with the same Apple ID), indicate whether or not to share the device usage stats with Apple and app developers.
After a few moments, you should finally be ready to use your new iPhone!

Recent Comments