Some users have reported a problem with their laptop chargers after updating to Microsoft's 'Windows 10 Spring 2018 Update'. The issue centres around your laptop charger and how it can suddenly stop working. This is a problem that has been reported in a few instances immediately after a Windows update has taken place, but luckily the fix is straightforward.
If you’re affected, then you’ll be able to tell by looking at the battery icon in the bottom-right of your laptop’s desktop screen. So, if this sounds familiar, read ahead to find out how you can resolve the problem and start charging your battery again.
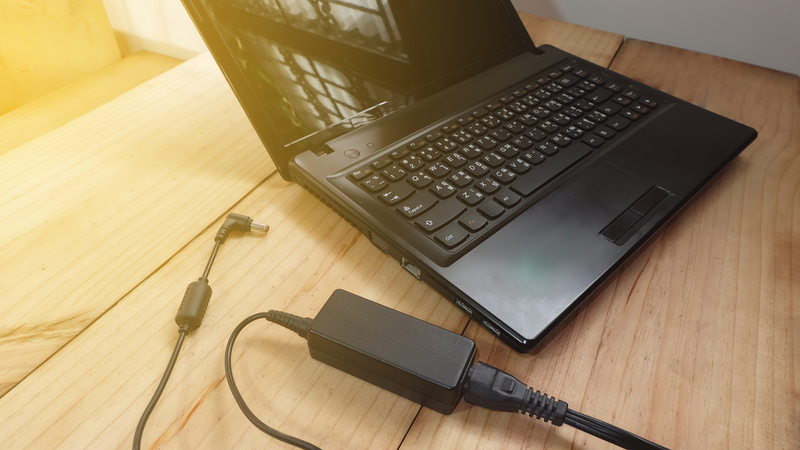
Charger connected, but not charging
If you've recently updated to Microsoft's seasonal Windows 10 update for Spring 2018, then you might have found that your laptop charger will no longer provide power to your machine. If you check the system tray notifications, you’ll see that the laptop charger is indeed connected, but that it’s not powering the battery. This isn’t necessarily a problem with the charger itself. Here’s what you should do:
- Click on the Windows button in the bottom-left of the screen and type 'Device Manager' into the search bar; alternatively, right-click the same button and you'll see a quick-access link displayed, which will take you to the same menu;
- Next, click on 'Batteries' within the Device Manager menu, which will expand to the following 2 settings: 'Microsoft AC Adapter' and 'Microsoft ACPI-Compliant Control Method Battery';
- Finally, right-click on both options in turn and select the 'Uninstall device' option for them both. This will uninstall the drivers for your laptop's power supply.
As you might have gathered, at this point you have uninstalled the drivers that are necessary for your laptop’s power supply to function properly. However, don’t worry; when you restart your laptop, they will be automatically reinstalled again.
- Shut down your laptop using the power options in the Windows menu, and unplug the power cable if it still connected to the device;
- Remove your battery from the bottom of the laptop. Though this may seem like a pointless task, your device will detect that it has been removed, which is an integral step to getting the laptop to reinstall the power supply drivers. If your laptop doesn’t have a removable battery, then it might take opening the laptop case to perform this step – we wouldn’t recommend doing this without help or if you have a warranty in place;
- Finally, insert your battery back into the device, plug the charger in, and power the laptop on. Once everything has started up and you’re on the Windows desktop, your battery should be charging again as indicated by the system tray notification.
If you’re still having problems
The above steps might not help to resolve the problem with every make and model of laptop. Alternatively, if you’re still having problems afterwards, then there could be something else wrong. Check that the charger does indeed show a connection to the laptop.
The tray notification has 2 distinct icons, one that shows when the charger is plugged in, and another that shows when it is charging. If it doesn’t show either of these icons, then it could be that the charger wire is damaged and providing no current to your laptop.
If you still can’t work out what the problem is after following the above steps, then you could also contact WiseGuys for advice, repair or replacement. We provide laptop repairs and computer repairs in Bournemouth and the surrounding areas. You can reach us by phone on 0808 123 2820.

Recent Comments