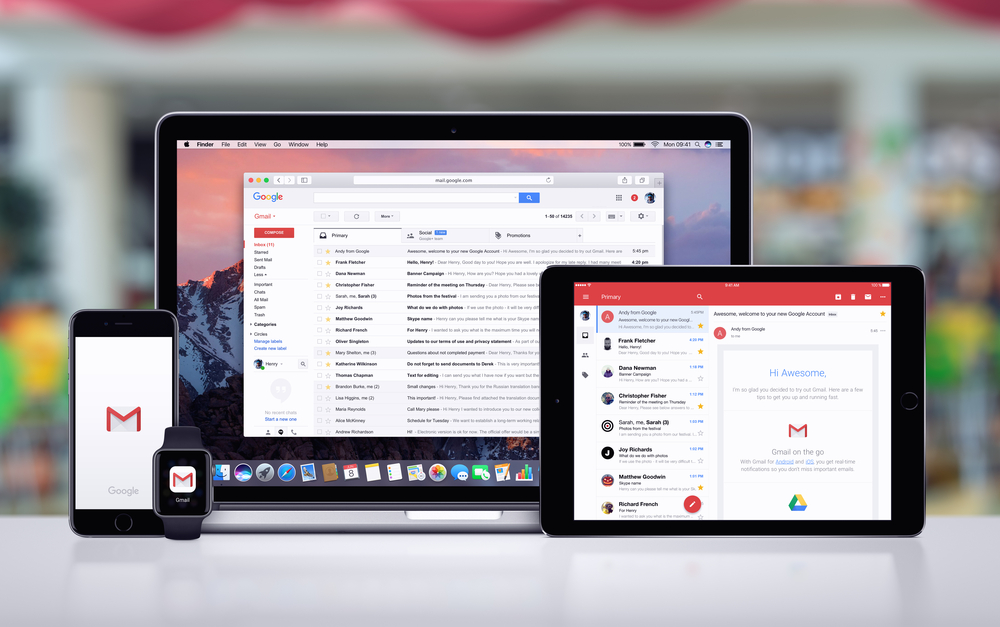
For years now Google has offered a function called Google Tasks which allows users to organise everything they need to do in a clear constructive way.
Just like anything else though, many people don’t know it exists or do not know how to use it.
Well lucky for all those people, this is a guide on how and why you should use Google tasks when planning out your day to day life.
What is Google Tasks?
As mentioned before Google tasks is a function put in place to help people plan out their everyday tasks.
Linking with your Gmail to send you reminders and your calendar so that all tasks are dated for when they need to be done, it’s a handy, easy to use tool.
Google Tasks has been around for a long time, however with recent Google updates, its functions have become neater, easier and more appealing to use.
How do I use it?
If you are using an IOS or android phone, then there is a tasks app that you can download with clear instructions on how to use it and what to do.
But if you are hoping to use Google Tasks on your laptop or computer, regardless of the brand, then here’s how you do it:
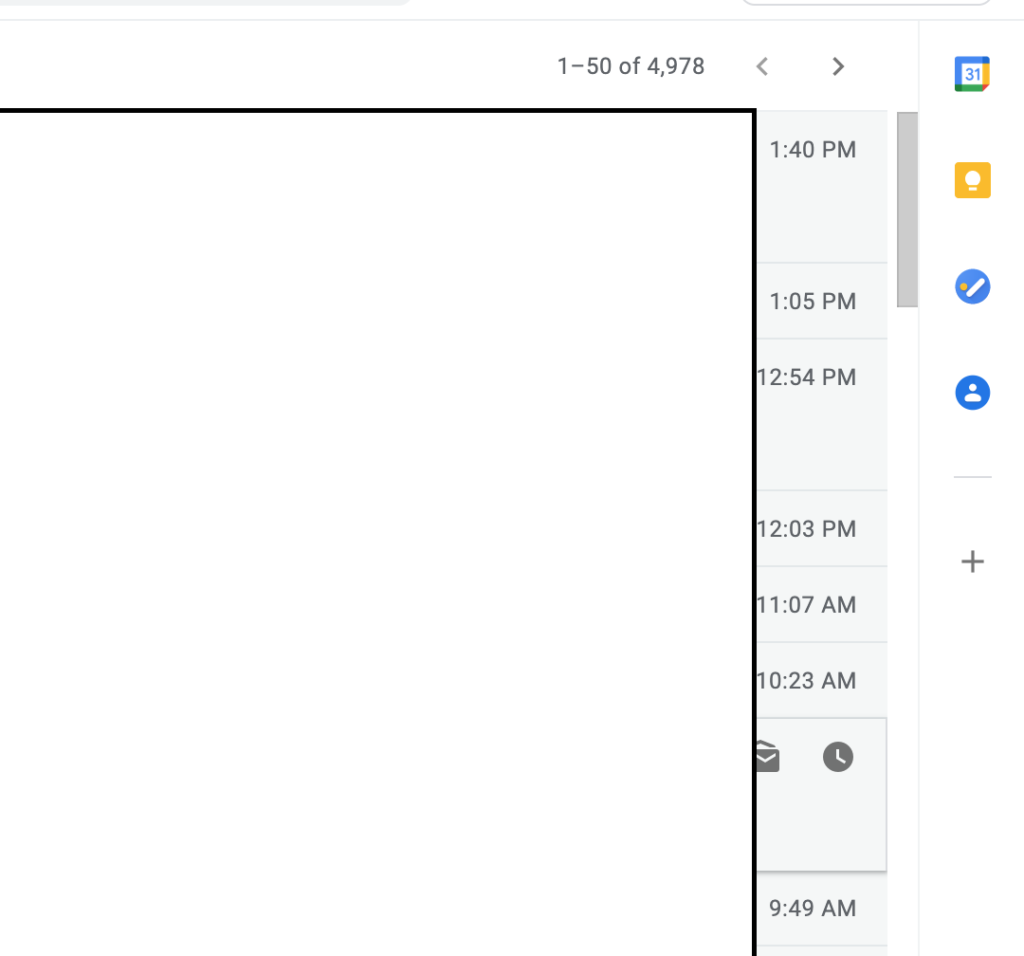
- To open and begin creating your tasks you need to open your gmail and click on the task icon on the right hand side of the screen. The icon is a blue circle with a white line and orange dot in as shown in the image below.
2. Tasks will then open up as a column on the right hand side of your screen and if you’ve never created any tasks before then the option ‘get started’ will pop up.
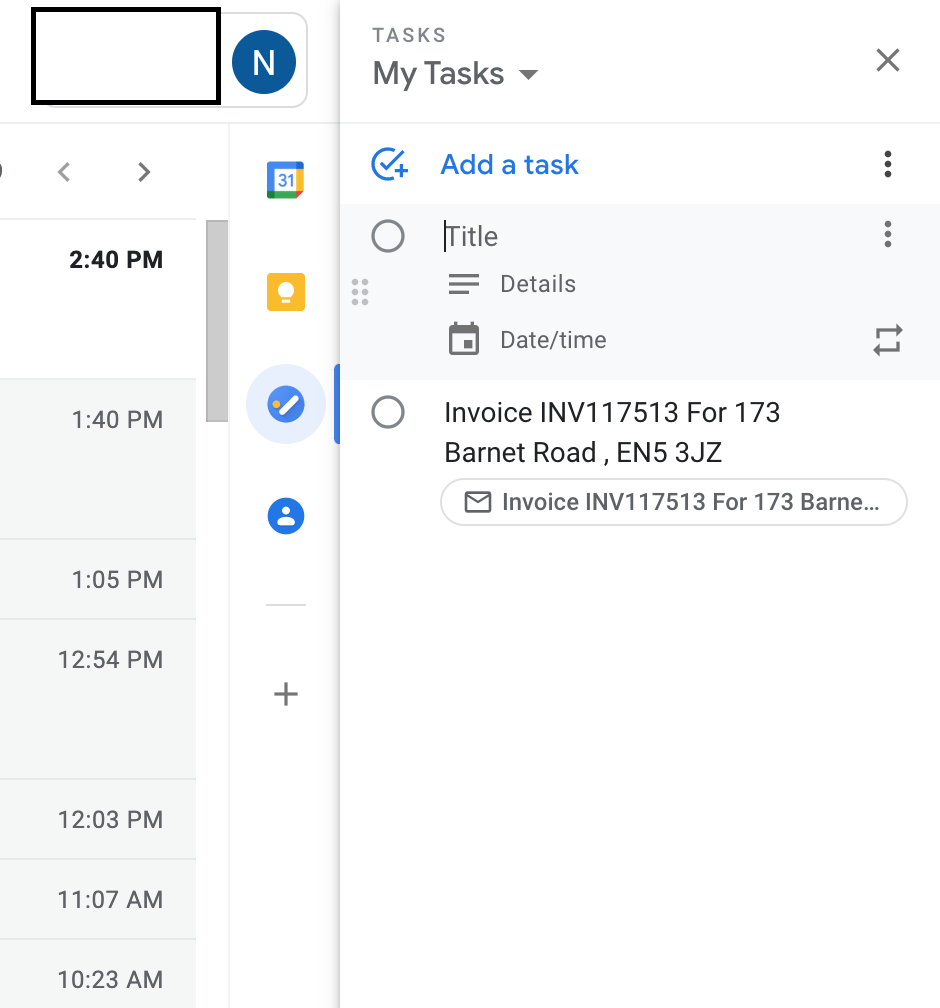
3. Once you’ve clicked ‘get started’, then the next step is to click on ‘Add a task’.
4. Once the task box has been created simply fill in the details it asks for such as the title of the task, any details about it, the time & date in which it will be completed.
5. If the task is a recurring task then click on the symbol next to the time and date section and it will automatically make that task appear at that same time on the same day each week, month or year depending on your choice.
6. To edit any existing task simply click on any details within it such as the time and date.
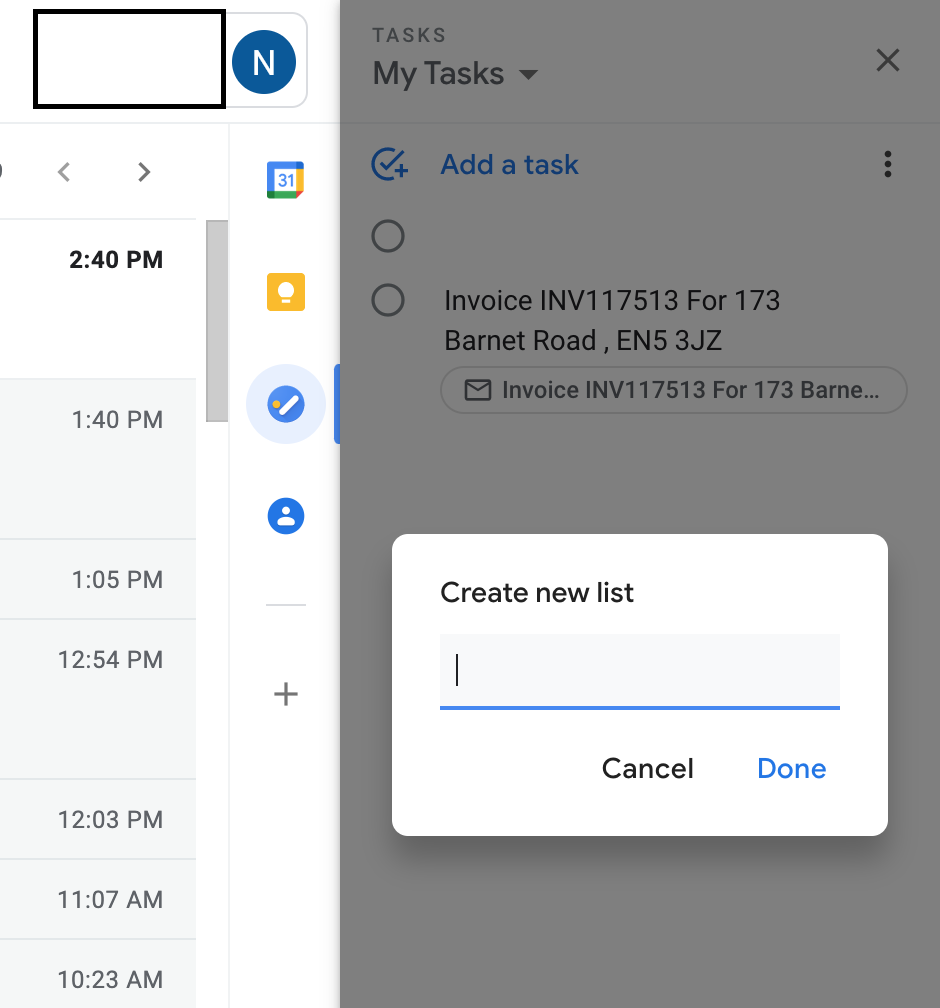
7. Once you’ve started to add multiple tasks things may begin to get confusing so we recommend creating categories for your tasks. For example work, family events or special occasions. To make different lists for each category simply click on the name at the top of the tasks list, then either rename it or click to add a new list and name that.
8. If you want to remove a task or add on a subtask to it, then click on the three small dots next to the task you want to edit, and your options to remove or edit it will appear.
9. You can move your tasks around by simply dragging and dropping them and if you receive an email that you want to add as a task, then simply drag the email and drop it into the task bar.
10. Once a task is complete, you can mark it off by clicking on the circle on the left of the task and to view any completed tasks click on ‘completed’ at the bottom of the sidebar and they will appear.
Following this guide will help you keep your tasks neat, tidy and all in one place.
If you need any help using this function or have any other technology related queries then give us a call on 0808 123 2820

Recent Comments